 |
| Smokey is on Duty |
The Potager

Wednesday, August 8, 2012
Saturday, August 4, 2012
How much time does it take to weed an Asparagus Bed?

Ten minutes, before work one morning. Why do I put these things off?
Friday, August 3, 2012
Foodie Friday - A tale of three pickles
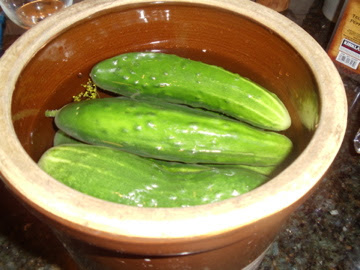
As you know I have an over abundance of cucumbers this year. Not a bad problem to have, I admit.
So I have been experimenting with various ways to pickle.
Quick Pickles
(Recipes are highlighted shortcuts to the link)
 This first pickle was a variation on Rachel Ray's Quick Pickles. I read several quick pickle recipes and they all had a lot of sugar in them. My guess is that the bread and butter type pickles are easily done as quick pickles. My husband likes dill pickles. So I wasn't interested in the bread and butter pickles (although they are my favorite) at this time. Rachel Ray's recipe had the least amount of sugar of all the recipes I found.. I had all the ingredients except the mustard seeds, but several other recipes for quick pickles did not use mustard seed, so I subbed it out for black peppercorn. The onions were also not in the recipe, I just threw them in there for fun.
So these were the ingredients - and of course Cucumbers.

The vinegar, sugar, salt and garlic were combined in a pot and brought to a boil. If I had mustard seeds, they would have been added at this point. I thought it might be a bit much spice-wise to boil black pepper so I added it later.
In rereading the recipe, I was only supposed to simmer it until the sugar dissolves. I boiled it. It still worked. I think this is pretty much a foolproof recipe. It should be called
Quick and Easy Pickles.
 While the vinegar heated up I sliced the cucumbers and onions and combined them with the dill, bay leaf and peppercorn in a glass bowl.
Finally the vinegar was boiling and I poured it over the top of the vegetables.

At this point, the pickles could be cooled to room temperature and eaten or refrigerated.
Since I had made these before work, I put them in the refrigerator to have with dinner.


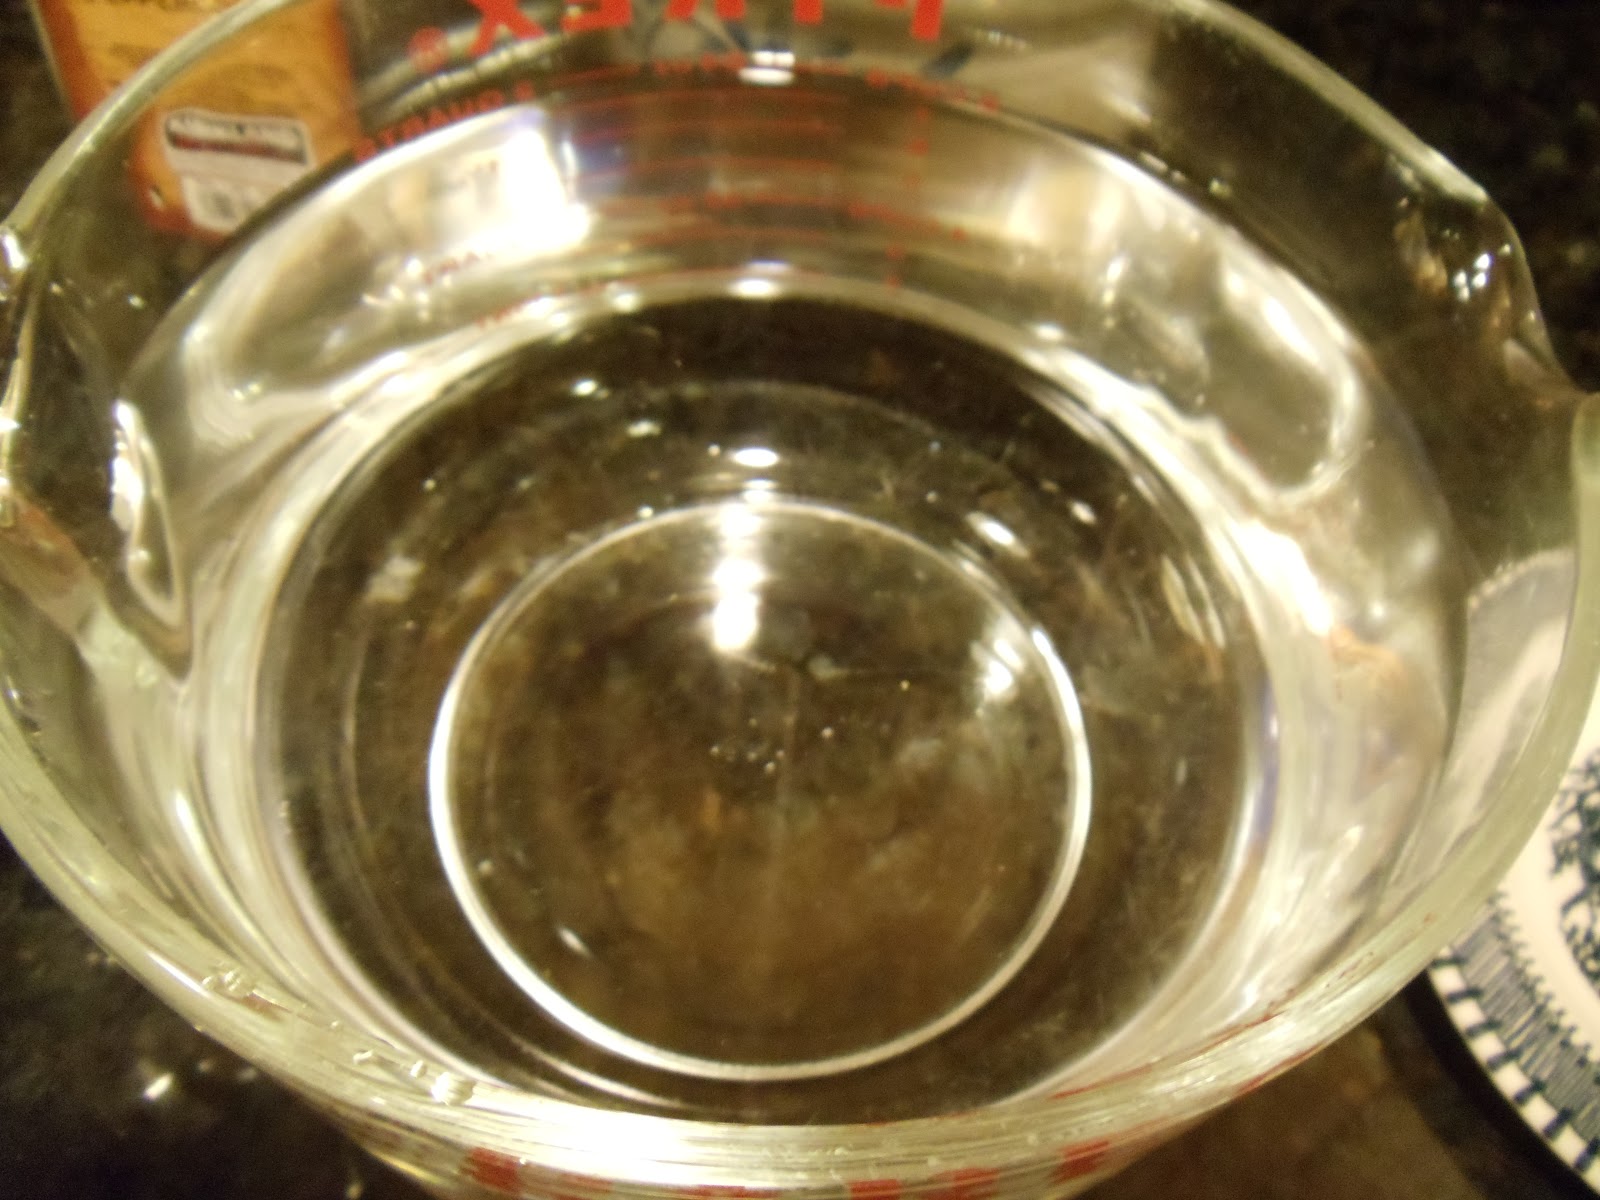
The salt gets stirred into the water until it is dissolved completely. This doesn't take too long.


 see the brown spot?

So I have been experimenting with various ways to pickle.
Quick Pickles
(Recipes are highlighted shortcuts to the link)

So these were the ingredients - and of course Cucumbers.

The vinegar, sugar, salt and garlic were combined in a pot and brought to a boil. If I had mustard seeds, they would have been added at this point. I thought it might be a bit much spice-wise to boil black pepper so I added it later.
In rereading the recipe, I was only supposed to simmer it until the sugar dissolves. I boiled it. It still worked. I think this is pretty much a foolproof recipe. It should be called
Quick and Easy Pickles.

Finally the vinegar was boiling and I poured it over the top of the vegetables.

At this point, the pickles could be cooled to room temperature and eaten or refrigerated.
Since I had made these before work, I put them in the refrigerator to have with dinner.

These pickles were very tasty, a bit sweet, but still very pickly. This is a good way to enjoy pickles when you don't have time to really make pickles.
A Perfect Pickle
This recipe was sent to me by my daughter. It was from the April 2011 issue of Country Living and be seen here: A Perfect Pickle Recipe.

I went out and bought mustard seeds... but this recipe didn't call for them. Figures.
I needed vinegar, sugar, salt, garlic, peppercorns and dill.
You sterilize two jars, stuff them with cucumbers, cut however you want, shove the garlic in the jars along with the peppercorns and the dill.

Then you boil (yes, really boil this time) the vinegar, sugar and salt, let it cool 15 minutes, pour it over the cukes, screw on the lids and you are done! Easy!

You will notice that one jar is only half filled with the pickle juice. I may not have stuffed enough cucumbers into the jars, leaving more room for the juice than is necessary. These have to sit for 24 hours and then they will keep up to one year in your fridge. We ate the jar that was only half filled first. These were delicious. Also a bit sweet. Very tasty. The pickles did shrivel up a bit after a week, but were still tasty.
Sour Pickles
The last batch of pickles I made were Sour Pickles. These are totally different from the others. The first thing you will notice is there is no vinegar involved here. These pickles are fermented pickles.

I read a lot of recipes for this kind of pickle. I felt most comfortable with the one from Wild Fermentation. I needed a ceramic crock (I had an vintage one holding my utensils - I washed it thoroughly), water (not tap water) plate that fits inside the crock, 3/8 cups sea salt (I later switched to Kosher Salt when I saw how big the sea salt granules were. The important thing is that the salt cannot contain iodine.),3 to 4 heads dill, 2-3 cloves of garlic, grape leaves and black peppercorns. I have a friend who grows grapes. I called her house before work and she brought me some grape leaves. If you don't have a grape growing friend, you could use cherry, oak or horseradish leaves. Really.
Oh yes, and cucumbers. Preferably on the small side. Mine are on the larger side.

I had my cucumbers soaking in very cold water to refresh them because they weren't fresh off the vine.


The garlic cloves were peeled using this handy garlic peeler tool. I love this tool. You should get one.

It made quick work of that job. Then the grape leaves, dill, garlic and peppercorns were laid on the bottom of the crock.

The blossom end of the cucumber produces an enzyme that will make pickles soft, so I made sure there was no blossom residue left on the end of the cucumber (the blossom end is lighter in color than the stem end.)
 see the brown spot?
no more spot!

The cucumbers were laid in the crock and covered with the brine.

The plate was laid on top to hold the pickles under the brine and then weighed down with a jar of water.

And that's it. The whole thing got covered with a dishtowel to keep out flies and dust. It needs to be checked daily. Because it is fermenting, mold will form on the surface. It gets scraped off. If I find more small pickles, I can add them to the brine. It will take one for four weeks to sour the pickles. The whole time the crock will sit on my kitchen counter, out of the sun and away from the stove. When they begin to taste good, they will be moved to the refrigerator to slow down the fermentation.
I can't comment on how they will taste, but they smell incredible. This was done two days ago and I've seen no mold yet and I've added more small pickles to the crock.
I will still make traditionally canned pickles, hopefully this weekend. But these three methods were all done during the work week and all took about 15 minutes of actual hands on time. Not a bad way to use some of that cucumber harvest.
Thursday, August 2, 2012
Potatoes
My potatoes have not been looking too well. The photo below was taken two weeks ago.
 The brown curled edges eventually over took all the leaves and began to kill off the stems too.
 Not sure if this was potato blight, which can spread to tomatoes, I donned gloves and pulled out all my potato plants except for one that still looked healthy, and threw them into a plastic bag and threw them into the trash. If it is blight, I don't want to compost them and possibly spread the blight to future gardens.
Even though I had never seen the potatoes in bloom, a sign of developing potatoes, I decided to dig around and see if there were any spuds in the ground.
 Boy, were there spuds! I dug up five pounds of beautiful potatoes! How exciting! We had some with dinner and will be enjoying them for the next week or so. I have no delusions that I can store them. I would have to plant a lot more than I have room for at this time. But it is still exciting to grow something you've never grown successfully before. Next year I will again plan for potatoes in the Potager. They really do taste better than the ones you buy in the store.

This year, when I finish harvesting the bed, I'll prepare the soil to take some fall crops. Yes, fall crops. And I am behind on my planting for fall. I just got my seeds planted for kale, cabbage and brussel sprouts. I hope I get to enjoy some of them before it gets too cold.
 For now, I'll just keep enjoying the bountiful harvest from the Potager in early August.
(Cucumber recipes, anyone?)

 Not sure if this was potato blight, which can spread to tomatoes, I donned gloves and pulled out all my potato plants except for one that still looked healthy, and threw them into a plastic bag and threw them into the trash. If it is blight, I don't want to compost them and possibly spread the blight to future gardens.
Even though I had never seen the potatoes in bloom, a sign of developing potatoes, I decided to dig around and see if there were any spuds in the ground.


This year, when I finish harvesting the bed, I'll prepare the soil to take some fall crops. Yes, fall crops. And I am behind on my planting for fall. I just got my seeds planted for kale, cabbage and brussel sprouts. I hope I get to enjoy some of them before it gets too cold.

(Cucumber recipes, anyone?)
Wednesday, August 1, 2012
Above-Groundhog
Hubby wanted to show me something when I got home from work yesterday.
 This is a tree in our side yard that we recently cleared. There is something in the tree.
 Is that...? Why yes it is. It is a groundhog! In a tree! I've lived here 30 years and have never seen a groundhog climb a tree.
 I've since learned that indeed groundhogs will climb trees for three reasons:


- It feels threatened by a predator. The major predators of groundhogs that live in our area are foxes, coyotes, bears (I've never seen one, but we do get occasional sightings reported in the local news ), large hawks and dogs. Our yard is fenced in so that leaves out everything but the large hawks, however climbing a tree can't be the best way to avoid a hawk! Our cats roam the yard, but this groundhog was at least as big as our cats, if not bigger!
- To get berries or fruit. This was a pine tree. So that option is eliminated.
- To survey the surrounding area, and to rest while doing it.
I'm guessing it was reason number three. The groundhog didn't seem too upset or frightened.
Hubby has been sprinkling an animal repellant around the shed to get rid of the skunk living under there. The groundhog also has his burrow entrances around there, so maybe he has had enough with the smell and is moving on, look for a new home. (I wish - the skunk hasn't moved on yet. If the groundhog can stand the smell of the skunk....)
Groundhogs, also known as woodchucks, are actually members of the squirrel family, so I guess it is not surprising that they can climb trees. They are also very good swimmers.
I've also learned while researching groundhogs that they really like tomatoes. And they can climb - as in fences. Uh oh.
This morning he was out of the tree and no where to be seen. I don't mind having a groundhog in my yard. We always have had them. They've always eaten out of the compost pile or the woods and left us alone. This year though, Mr. Groundhog has encroached into our garden and is now in our trees. It may be time to get a trap.

How much wood would a woodchuck chuck
A woodchuck would chuck all the wood he could
- if a woodchuck could chuck wood?
- if a woodchuck could chuck wood!
- I am linking this up to the Tuesday Garden Party at An Oregon Cottage,
- where you can visit gardeners from all over and see how lovely a garden is in late July.

Subscribe to:
Posts (Atom)