The Potager

The Potager

Sunday, August 28, 2011

Hurricane Over

This photo was taken from my back door during the beginning of the hurricane. It hit us around one in the morning, so I slept through most of it. But at this stage the Potager was flooded.
The next day, not too bad. Thankfully we are inland 30 miles or so and the winds had weakened before it got to us. The rain flooded the yard, but we have sand under the garden, everything had drained off within an hour of the rain stopping.
The flowers in the Perennial/Herb Garden are flattened. But bees and butterflies are already flitting around them. (Where exactly does a butterfly hide out in a hurricane?)


Psalm 107: 29 He caused the storm to be still, 
So that the waves of the sea were hushed. 

Saturday, August 27, 2011

Waiting on Irene

Garden clean up has been halted as Irene is expected in the next 12 hours. We'll see what damage she does before I spend time cleaning up. All potted and hanging plants have been relocated to the shed, anything that could fly away has been secured, we have supplies to carry us through any power outages and evacuees in the spare bedroom. My niece's wedding was supposed to be today, but that's been postponed. Time to just ride it all out.

Monday, August 22, 2011

Thinking Fall

Summer is winding down, but my schedule isn't. I was away all weekend visiting my youngest daughter (which was wonderful) and when I got back I was shocked to see how bad my garden looked. Not in three days, in all honesty. We've had storms in the evenings, or I've had things to do, and when you only have weekends to get out there, things can fall apart quickly.
However, I did use a spare hour or two last weekend to clean up some spent plants, add some manure and plant some fall crops.
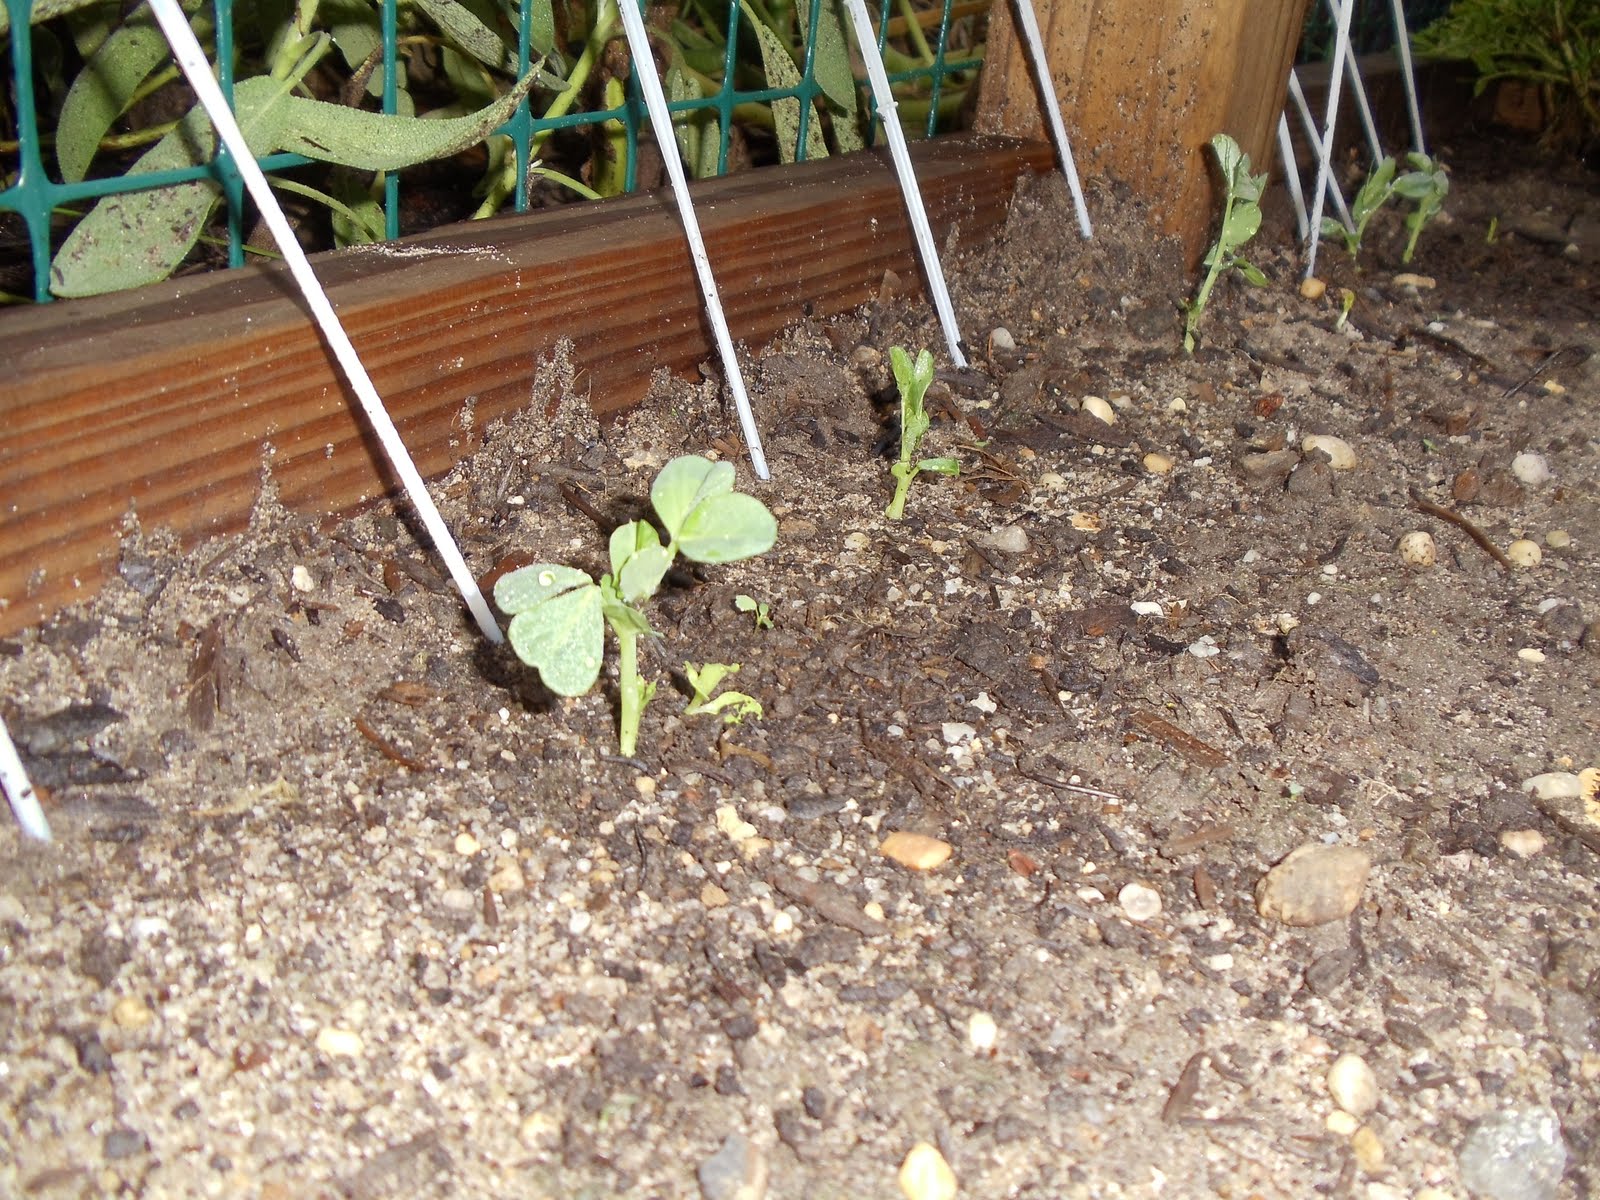
This weekend the seedlings have come up.
These are snow peas. They will climb the fence behind them. In the middle of this bed I planted lettuces, which are coming up now, and radishes in the front, also sprouting.
This bed has turnips coming up.  I still need to plant kale, more lettuce and pak choi. This coming weekend is a family wedding, so I don't know how much time I'll have then, and then it's Labor Day weekend! How can that be? Summer zoomed by!
A pleasant surprise waiting for me when I returned was this gerbera daisy blooming in the concrete planter in the center of the Potager. I left that plant in there all summer hoping it would re-bloom at some point.
One bit of loveliness in a whole garden of messiness. I have my work cut out for me this week!
Before and after photos to come!

Friday, August 19, 2011

Foodie Friday - Roasted Tomato Sauce

We all have them, those tomatoes that have a spot or two, or big cracks, or that just don't look pretty. Here's what I  did with mine. I cut them up, keeping the good parts and getting rid of the wonky parts. I chopped up some peppers from my garden (not as many bad looking ones, but they would work in this recipe too) and some garlic and an onion or two and mixed them all in a metal baking pan with extra virgin olive oil - about 1/4 cup. I then sprinkled on salt and some crushed red pepper flakes.
This went into my oven at 375 for an hour.
It ended up looking like this:

I then stirred in a lot of basil and some oregano from my garden and put it back into the oven for another half hour. When I took it out it looked like this:
This got dumped into my food processor and was processed until smooth.
We mixed it with pasta for a yummy meal, but this would also be great as a pizza sauce. There's a lot of olive oil in it so I would only make it occasionally, but the taste was out of this world.

Tuesday, August 16, 2011

Freezing Summer Squash

I am definitely in preserving mode here in the garden. The Potager is producing more than we can eat of some things. Other things are not doing as well as I had hoped.
But this has been a great year for summer squash. My late planted yellow squash and ambassador zucchini is just starting to produce, but the white scallop squash and the eight-ball zucchini faithfully giving us daily squash. I have gifted it and baked with it and had it for almost every meal. And it still keeps coming. It's time to preserve it for the winter!
I honestly don't have time to do the baking and canning I would love to do, but freezing squash for a vegetable side dish this winter? That takes no time at all.
So before work yesterday I gathered what I would need:


A pot of boiling water, a bowl of ice water, washed squash, a cutting board and knife, metal baking trays and ziplock freezer bags.


When your water is rapidly boiling, cut up your squash. You don't want it sitting too long before you toss it in the water. It will turn brown. I did my white scallop squash first, then my zucchini.
Throw your sliced up squash into the boiling water and time it for three minutes. We are blanching the vegetables, not cooking them, so time them from the moment they go in, not when the water returns to boiling. Immediately after three minutes, plunge them in the ice water bath. I then drained the slices on a towel because I want to individually freeze them. You can reuse the same water. Just let the pot return to boiling before you add your next batch and add more ice to the ice water.
Lay the blanched slices on metal baking trays. I had more than would fit on my trays, so I just added the extras to freezer bags. These will freeze together, but can still be used. The ones on the trays will freeze individually.
The trays get popped into the freezer. Later that day, they are placed into freezer bags with as much air pressed out as possible. If the slices stick to the tray, just give the tray a good whack on the counter.
And that's it! All before work, not much clean up and I know I'll be happy to be adding these to my meals when the snow is flying outside. 
I am linking this up to  at AnOregonCottage.com.

Saturday, August 13, 2011

Freezing Raw Tomatoes

I would love to say that all the tomatoes in these photos were home grown, but that is not the case. Well, at least not all at my home. A relative of my employer visits the office and we got to talking about gardens and he gave me the Juliet tomato plant that I have.
This is a grape plum tomato making tons of firm small plum tomatoes. I have really enjoyed this plant. But I only have one. This gentleman has dozens. So every now and then he shows up at our office with a bag of tomatoes. I gladly take them.
I wanted to freeze my tomatoes for use in the winter and came across this bulletin from the University of Nebraska-Lincoln (http://food.unl.edu/web/preservation/freezing-tomatoes) telling how to freeze raw tomatoes. That intrigued me. As I have had no time to do regular preserving this summer, the idea of freezing tomatoes with little prep appealed to me. Further research told me that I can grab frozen tomatoes and add them to stews this winter or I can thaw them. Once thawed they will separate into a watery liquid and a tomato mush. If I pour off the liquid, the tomato mush can be used to make tomato sauce, and everyone who has done this says it condenses the tomato taste.
So I washed the tomatoes, discarding any that weren't perfect and then dried them.
I then cut off the stem end and laid them on a baking pan.
The Juliet tomatoes are all remarkably the same size. The larger ones in the foreground are Amish Paste. I got my Amish Paste seeds from a seed exchange and I think they cross-pollinated because I got very few plum tomatoes from my plants. Most are rounded thinner fleshed tomatoes. It is very strange.
I put the tray of tomatoes into the freezer over-night.
The next morning I put the frozen tomatoes in zip-lock freezer bags and returned them to the freezer.
I ended up with 3 1/2 lbs of frozen tomatoes. I understand you need 2 1/2 lbs for making sauce.
An easy way to preserve tomatoes for winter use. I'm all about the easy this year!